10 Tips On How to Set Up a Photography Studio in 2024
Are you someone new to the photography field? Or want to expand your photography experience? Then it won't be a bad idea to have a photography studio at home. Do you know how to set up a photography studio? If not, then this blog will help you to get started with your photography setup.
Creating a professional photography studio at home from scratch is something that most beginner photographers will enjoy. Not only beginners, but professional photographers will enjoy it as well. However, professional photographers will already have some ideas on what they want and what they don’t in their studio. Where it’s not gonna be that easy for a beginner. if not a professional photography studio, at least a beginner photographer set up will do the work.
For a beginner, it can be quite confusing to decide what to include in their studio and what can wait for a while. What equipment is needed based on the type of photography, we will try to gather a neutral list through which you can take the first step. So, let’s start the journey…
How To Set Up a Photography Studio
Having your own setup for your passionate job gives you another level of confidence and excitement. And when you set up the studio by yourself it also gives you a sense of confidence. Now it is a journey of motivating yourself.
1. Define the Purpose & Necessity of Having a Photography Studio Setup
Before getting yourself invested in a broad project, ask yourself if you are ready for the change or not. Whether the investment is important or necessary for your purpose. Once you truly find your purpose in photography it’s time to have a photography setup. Now, you have to find out the most important logistics.
It’s important to determine the primary function of a studio, based on the photography purpose. You see, photography is not a small field at all. It is a very big field to work. You have to set up the studio based on what photography you are looking forward to. Are you focusing on portraiture, product photography, fashion shoots, or something else? By understanding your niche, you will be able to make good decisions about space, equipment, and layout.
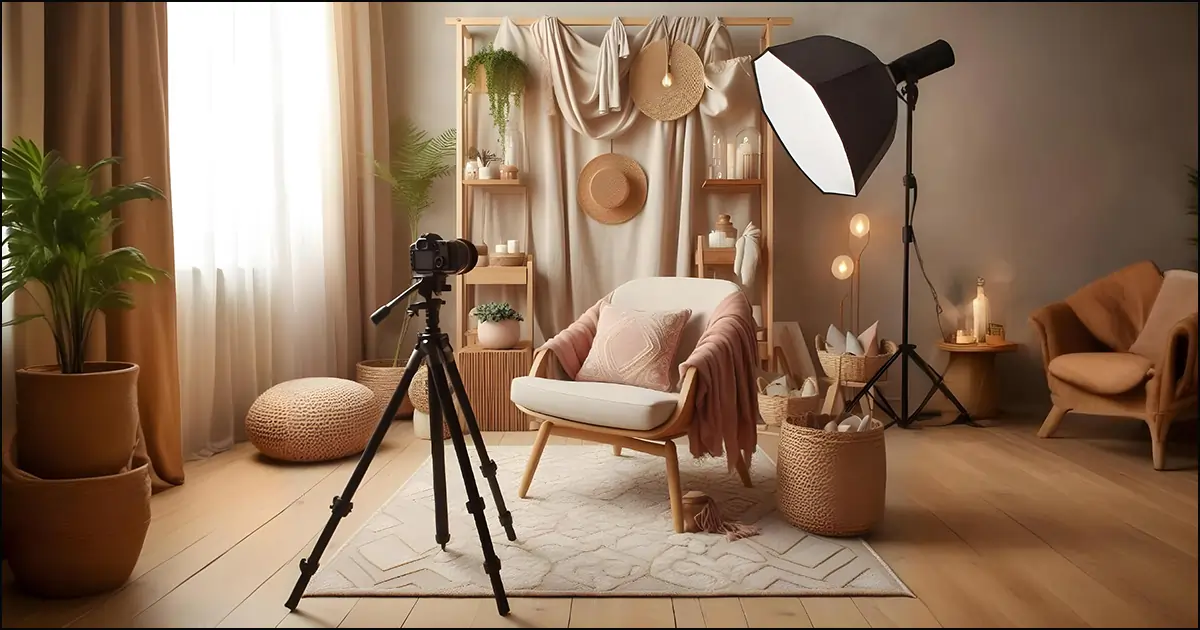
2. Choose the Right Space for Photography Studio Setup
When you have a photography studio setup for your work, you have to be concerned about the environment, location, and pros and cons of the place. Not every place or every corner can be a good spot for your photography setup. Then how to set up a photography studio? You have to select a suitable place or corner based on some major factors. Factors Like…
- Location of The Photo Studio Setup
If you are a beginner and willing to have a photo studio setup at home, then you have to have a room big enough to hold your lights, a camera stand, and a standard-size table. That’s all you have to worry about the location. But, if you’re running a commercial studio, and willing to expand it or have a studio of your own (or whatever reason), where you can deal with your clients, then the space needs to be larger than just a simple room. In that case, you should choose a spot that’s accessible to your targeted clients. And if could also manage ample parking then that would be a cherry on top. - Size of Equipment & Layout
As I said before, if you are working or setting up your studio at home then you have to ensure the space is large enough to fit all your equipment and allow you to move comfortably. Your room should be spacious enough to fit a camera stand, lights, background, and a standard-size table (Standard according to your photography subject). A minimum of 200-300 square feet is ideal, but this can vary based on your needs. - Natural Lighting
Well, even if most of the people will say this is a very necessary part, I would say this is optional. If possible, then a space with good natural light will help you in emergencies. Situations like when your lights are not working or you facing some electrical problems and all. Otherwise, you can just stick to artificial lighting. But Natural lighting is a valuable asset.
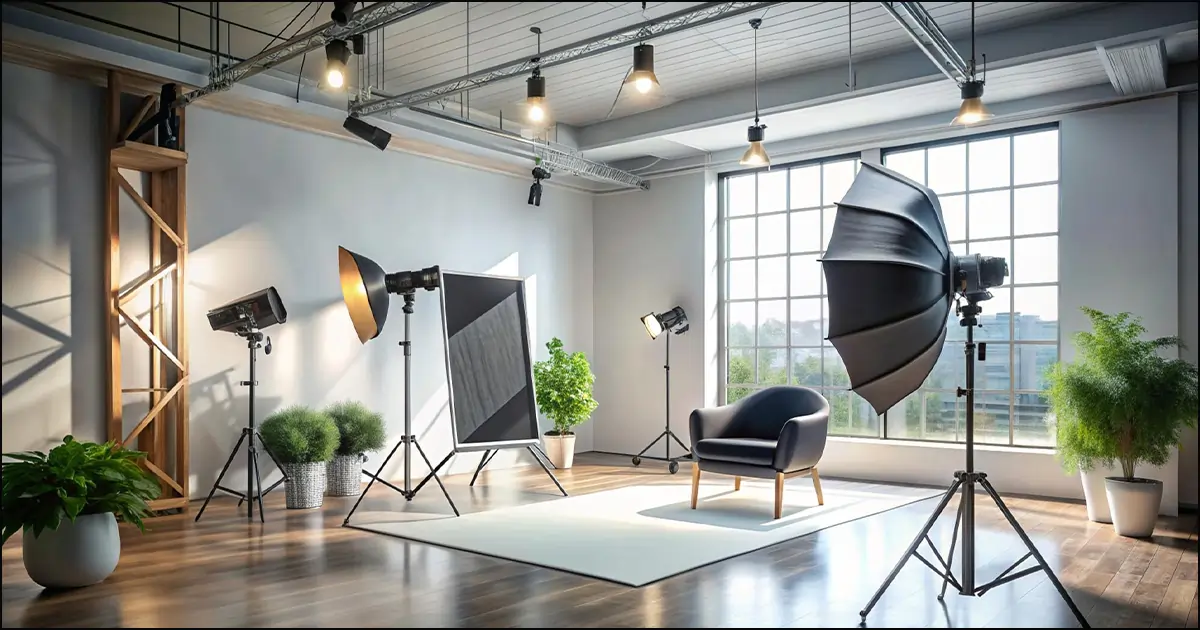
3. Studio Layout/The Blue Print of The Set Up
To get maximum productivity with a smooth workflow, you should think about the Layout first. An efficient layout could enhance your workflow. To make a useful studio layout, you have to consider some factors. Like…
- Shooting Area
If your subject of shooting usually can be shot on a table then you will need a space enough to fit a table nicely. That space will be your main shooting area. Besides that, depending on your requirements and specialties, you could include backdrops, props, and a shooting table. - Space for Equipment
Other than the subject itself, you will need some more essential equipment such as cameras, lenses, lighting equipment, and other gear. These gears need to be in your photography setup studio. You don’t want yourself looking for equipment at the moment of photography and running from place to place to grab different gears. Shelves and cabinets can help keep everything in its place. - PC Setup
Photography is not the only thing that you will need. To set up a comfortable area that functions more than a photography corner, you will need a proper PC setup to work comfortably for post-production. This should include a computer with high-resolution monitors, editing software, and ample desk space. To get the best output, you should go for a PC with at least Intel i5, and Ryzen 5. Also, make sure that your PC has an updated processor (at least M1) and 16GB RAM. This is necessary to ensure that the photo post-processing app/software runs smoothly.
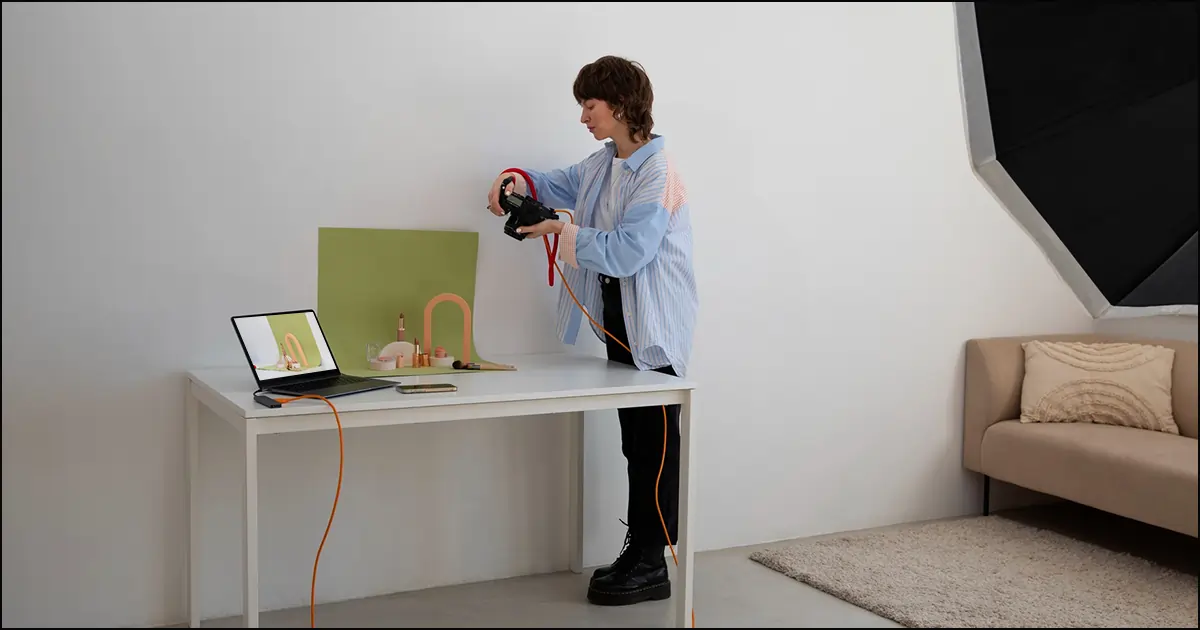
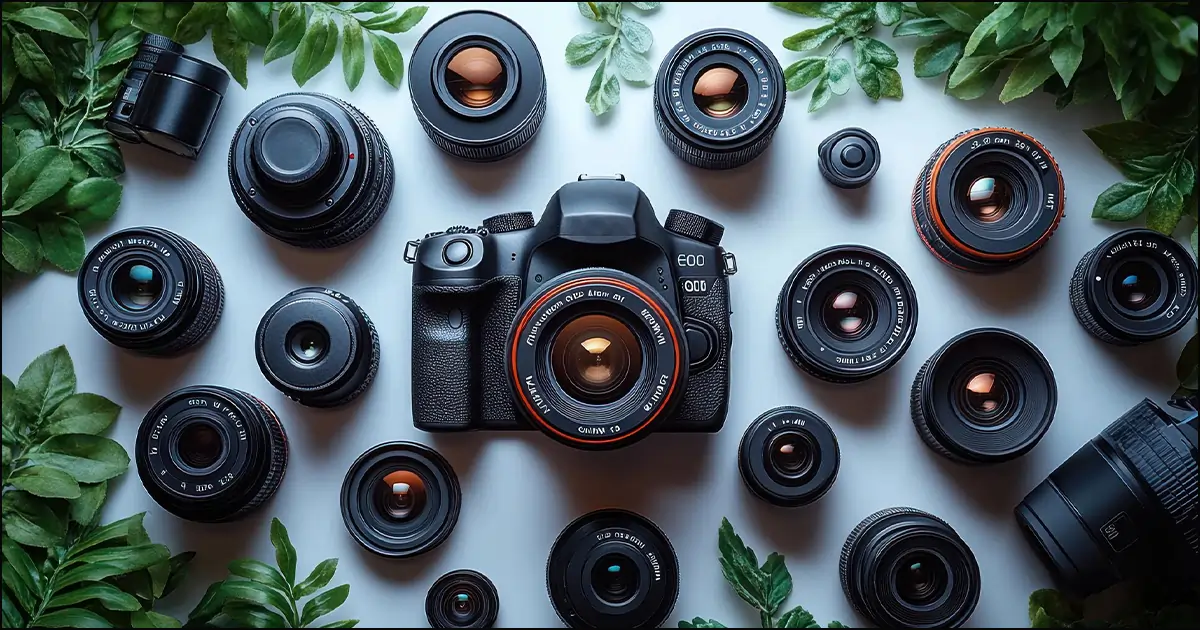
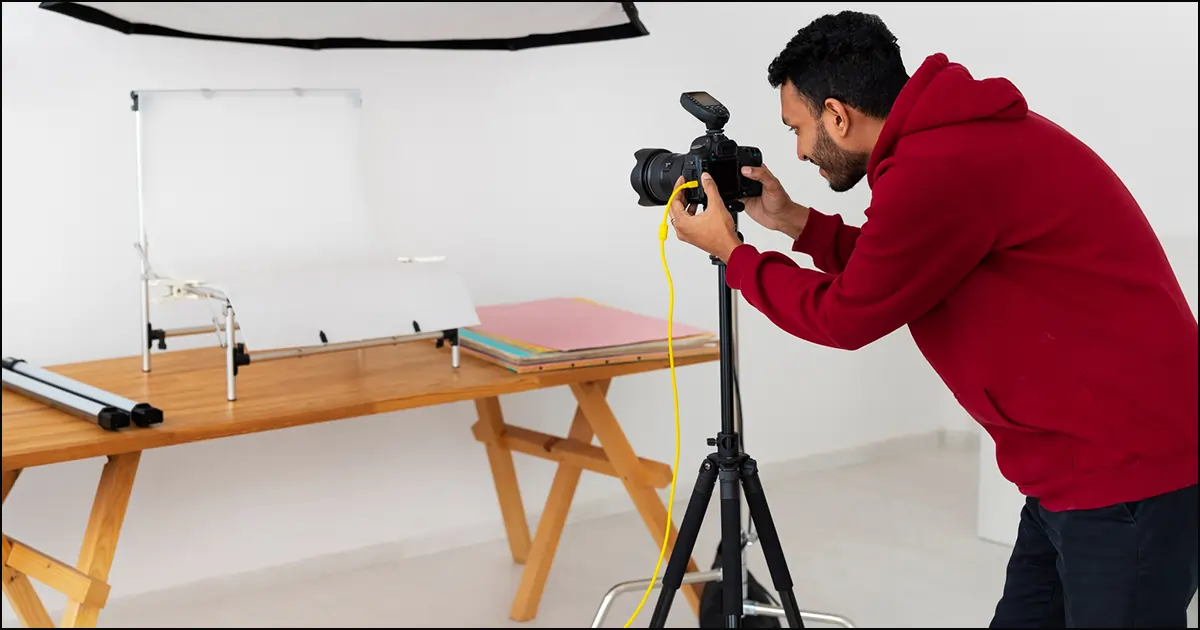
4. Invest in Essential Equipment First
A common mistake that I made while setting up my studio was buying unnecessary equipment just because it looked fancy to me. The heart of any photography studio is its equipment. But you don’t have to drown your money on every single equipment you lay your eyes on. Sometimes as a beginner, it is tough to understand which equipment is a must to buy and which one to avoid. So, here’s a list of must-have items:
- Camera and Lenses
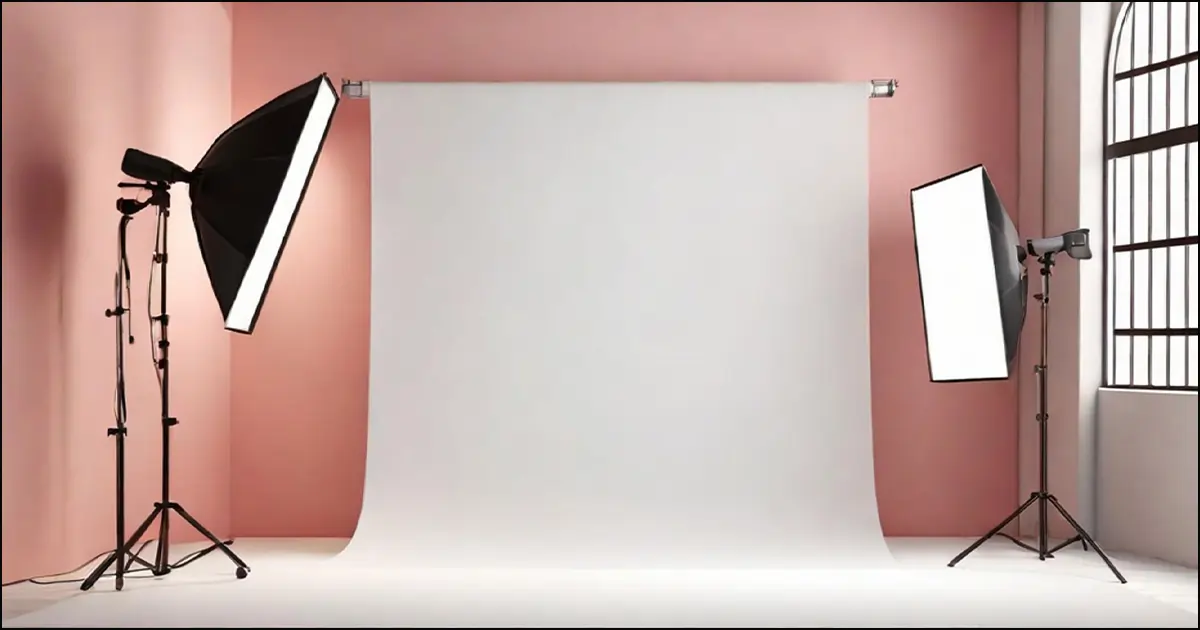
This is the most obvious one. You can’t shoot without a camera. Invest your money in a good high-quality camera and a variety of lenses suitable for your photography style. This should be the biggest sector of your investment. Some best camera settings also play a vital role in photography. - Lights and Lighting Stands
Lighting is crucial. Photography is also the art of lighting positions. Consider investing in a combination of studio strobes, softboxes, and reflectors to control and manipulate light effectively. The photography studio is incomplete without studio lighting. - Backdrops and Props
If we talk about commercial photoshoots, then background holds an important point. You will see very aesthetic and complementing colored backgrounds in various brands' photos. And they look amazing. Unless you hit the star of being a top-notch photo editor, you should keep a stock of a range of backdrops in various colors and textures, along with props that suit your photography niche. Why take extra pain when you can do it as an easy process? - Tripods and Stands
Working professionally as a photographer means taking more than a thousand pictures within a few hours. Imagine holding a camera still like a statue for hours without shaking your hands. Doesn’t sound like something possible for a human, does it? So, if you’re not an Ironman then ensure stability with sturdy tripods and light stands.
5. Optimize Lighting and Acoustics
Only having a light or a light stand would not fix your problem. You will have to grab the perfect angle of the lights. Angles of the light-matter more than anything. Good lighting and acoustics can significantly enhance the quality of your work. Good lighting angles can add depth to the photos. Let’s optimize lighting:
- Lighting Setup
Arrange your lighting to create the desired effects. Understand your needs and product type to analyze the light theory. Three-point lighting is a popular setup for portraits, while product photography might require specialized lighting techniques. It’s friendly for beginners who want to explore their journey in the photography field. Handling lights in the right way is also an art. - Acoustics for Clear Sound
Well, this is optional. If you are willing to stick only with photography and photo post-production then you would not need this part. But if you are willing to take this a step further and provide small video editing services then you will need acoustics. Sound quality is important, especially for video work, consider soundproofing measures or adding acoustic panels to minimize noise interference.
6. Create a Comfortable Environment
Only equipment can not make your image stand out impactfully. Knowing how to set up a photography studio involves knowing how to make your photos turn out well ensuring the comfort of your clients’. You have to put even more effort into them. A comfortable environment will help you to improve A comfortable and inspiring environment can boost creativity and productivity:
- Climate Control
Of course, you can’t change the weather or control it. However, you can set the environmental tone of the studio. Ensure proper ventilation and temperature to keep both you and your equipment comfortable. If you are working with models, make them feel comfortable as well. - Decor and Ambiance
Optional yet plays a very significant role. Decorate the studio. You should decorate the studio to reflect your style and create a pleasant atmosphere for clients. You can showcase your artwork, comfortable seating, a clean, organized space, pictures, paintings, and many more. Don’t go crazy with it, keep it subtle and soft.
7. Set Up a Client Area
If not possible as a beginner then do it as quickly as you get the opportunity. If you’re working with clients, designate a comfortable area to discuss projects, review proofs, and conduct meetings. This space should be welcoming and include comfortable seating and desks, and also a display area for your work.
8. Implement Safety Measures
Safety should never be overlooked. Ensure your studio adheres to safety standards. Don’t take any risk on this.
- Electrical Safety: Regularly check all electrical equipment and wiring to prevent hazards.
- First Aid Kit: Have a well-stocked first aid kit readily available. it will come handy for both you and your clients/models.
- Fire Safety: Install smoke detectors and have fire extinguishers in accessible locations.
9. Budget and Planning
Setting up a photography studio can be costly, so careful budgeting and planning are crucial. Allocate funds for equipment, space rental or purchase, furnishings, and ongoing expenses like maintenance and utilities.
Also, don’t forget to discuss the funds with your clients before the photoshoot to avoid any hassle or unwanted situations afterward.
10. Test and Adjust
Once your studio is set up, conduct test shoots to evaluate your setup. Make necessary adjustments to lighting, layout, and equipment placement based on your findings to ensure everything operates smoothly.
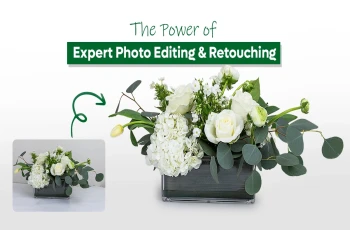
Post-processing with Color Clipping
If you are a beginner then it is pretty obvious that you will be a noob at photo editing. but clients will pay you for a professional photo. Which includes a photoshoot with photo manipulation to make the image look even polished. What is the solution then?
Well, there is a life hack for that. To make your images look flawless and spotless contact with Color Clipping. After the photoshoot, you have to jot down the client’s requirements and expectations from the photoshoot. Then contact Color Clipping with the instructions and expectations from clicked pictures. The rest of the work is left to us. We are experts at taking care of your ending works.
Conclusion
Setting up a photography studio is kinda like rewarding yourself to make progress in your career. the process that lays the foundation for your creative endeavors. Define your goals, choose the right space, invest in essential equipment, and create a comfortable environment to make your photography hustle easy. Once you are satisfied with your outcome, you’ll be well on your way to a successful photography career. Remember, a well-thought-out studio not only enhances your work but also contributes to a more enjoyable and efficient workflow. So, see you in the next blog, until then enjoy your happy shooting!
FAQ
There are tons of items that you can get to start a photography studio. But the most essentials are...
- A high-quality camera and lenses
- Tripods or camera stands
- Lighting equipment (softboxes, umbrellas, or studio lights)
- Backdrops/background (various colors and textures)
- A computer with photo editing software
- Storage solutions for equipment and props
It depends on your photography type. For portrait photography, a room of at least 10x12 feet can be sufficient. If you plan to shoot larger setups or multiple subjects, more space will be beneficial. And if you are willing to proceed with product photography, then you will not need a huge space. Just ensure you have enough room for lighting, backdrops, and movement.
Budgeting depends on the scale and quality of equipment that you choose. A basic setup may cost between $1,000 to $5,000, while a more advanced studio with high-end equipment can range from $5,000 to $20,000 or more. Your main investment should be on camera, lighting and pc setup. The rest can be adjust according to your budget.