Beginner Friendly Hat Product Photography | How to do Hat Product Photography

Read | Loved by: 22038
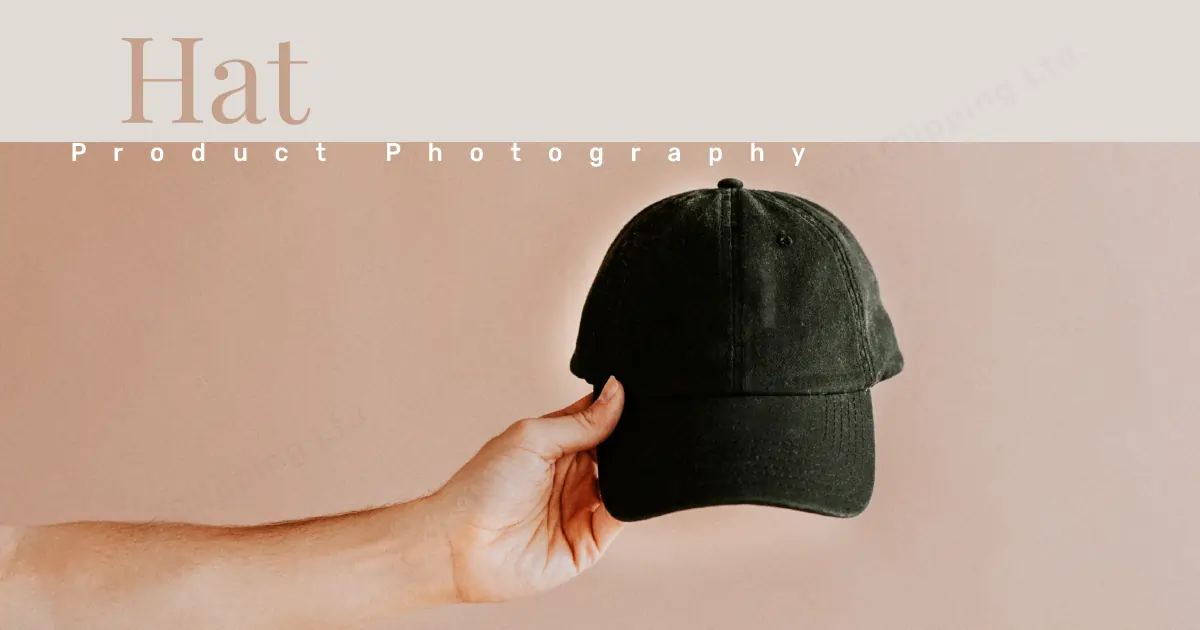
Do you remember the song "What's that? A hat?” from wizard of waverly place from 2007? that was named “Crazy Hat." Salena Gomez fans can never forget that. Does this song play in the back of your mind too, whenever you see a Hat? Well hello, 2000’s kid. Feeling old already? After realizing that this song was popular among friends in childhood many years ago! Some memories made history.
History of Hat
Speaking of history, when did people start wearing hats? looking at history it is assumed that Hats started their journey almost 30,000 years ago. Even though it is unclear who actually invented the hat, it is believed that Hat was invented by the Ancient Egyptians. Egypt is a hot country. Back then upper-class Egyptians would shave their heads. And to keep their head cool they use to wear headdresses. Funny to imagine, if they need to have hat product photography during that time what would it be like.
Modern day’s Hat
Even though the hat was invented to keep our heads cool, nowadays people wear hats mostly in fashion. A hat also conveys social status. You can always tell a person’s profession mostly site working professions like the military army and their rank, from cricketer to, army, police, chief, chef, sailor, bike rider, construction worker, graduation cap to Asian farmer. All of them have different hats.
For an e-commerce business, modern-day hats need modern marketing. So, any further delay let’s jump into our day’s topic.
Learn How to Do Hat Product Photography
Photography is definitely a skill. Not everyone will see it as a piece of cake. It might give you an easy to go vibes unless you have to do a photoshoot by yourself. But if you become interested in it and you finally indulge yourself into it, it can become your hobby.
Prepare Set up
First thing you need in Hat Product Photography is to set up the stage for a photoshoot. The first thing is to set up the lighting. The set will vary depending on the space and product. To start the work, you don’t need to have a high-end studio for a photo shoot, a low-budget setting will do the work.
For Hats usually you don’t have extreme lights but it also varies depending on the colors and texture of the hat. If you have a darker color hat then you can go for slightly heavy lighting, but, if the hat is light-colored then go for minimal lighting to pop up the colors. Natural lighting and artificial lighting will both work. A natural light is a good option for beginners, but for professionals, artificial lighting will do a way better job.

The surface for the Hat photoshoot needs to be small area based. Simply because it doesn’t take up that much space.
You can use a tripod to take stable pictures in the perfect position. You can also use menaquinones or models.
Prepare the Hat
Before the shoot make sure the hat is prepared for the shoot. The hat needs to be clean and brim free. To make it totally clean, you can use a sticky lint roller. If you see any brim in the hat then steam or iron it to make it crispy clean.
If there is any price tag on the product, remove it or try to hide it. Make sure the focus is on the hat only. If anything, other than the hat grabs attention, remove that item/prop.
If you see any mask or scars in the hat, fix that before the shoot. Fixing things before the shoot is way easier than fixing them after with photoshop. Moreover, fixing them before gives a more realistic look. Also saves your valuable time.
Prepare the Props
To Style the hat you can choose small and relevant props. But don’t go for a heavy background. It will distract the focus from the main subject. So, keep it simple and elegant. You can always go for white background. White will always give the option to go uncountable possibilities with Photoshop.
You can also hire models for this photoshoot. If you do choose models for this photoshoot then their outfits look suitable and decent. Not too heavy for the main product. Also, you have to keep that in mind the outfit has to match the hat as well. Different themes or colors can create a very off reaction from the customer.
That’s why in that case, you will find difficulties to hold attention to the hat. In this case, it is very possible that the audience focus will divert to the model. So, it’s wise to go for half mannequins or more perfectly to go for head mannequins.

Or even better go for a ghost mannequin which is also known as 3d invisible mannequin.
Shooting
For shooting, adjust your camera’s white balance, ISO, and aperture. Test a few shots to make sure. This will differ from hat to hat. The color and the lighting everything will depend on camera settings.
For ghost mannequins, you have to take a few shots without moving the hat but the mannequin to get the exact same position. Start taking pictures of the hat with the mannequin first. Here the focus will be on the outer side of the hat. Then remove the mannequin and try not to move the hat. Hold the hat exactly in the same spot and take pictures. For this special shoot, you need to have a tripod or a stable device to hold the camera in the same position in both pictures.

Editing
Retouching is a must in e-commerce product photography. Retouching will always bring out the best of the product. It will help remove all the blemishes and scars that were impossible to remove without retouching or photo editing.
The basic editing that goes with the hat photoshop is color contrast, removing background, removing blemishes, etc.
But this editing can take several hours. You can also check our services to save time. Color Clipping has Photo Post-Processing: Personalized Editing Services Affordable, Consistent-quality, Fast. Grab the service you want.
Conclusion
Hat product photography is like any other photography, if you look at it first. But it is not as simple as other photography. It takes effort. The main concern about hat photography is, you have to grab the attention of customers to the hat rather than other props or models in the picture.
FAQ

Anika Wahab
Hello, it's Anika, Content Executive from Color Clipping Ltd with a devotion to contributing my skills and knowledge more simply. Keep learning and growing with us.
Categories
Tag Cloud
Latest Stories

