Gem Photography: Capture Sparkle in the Best Way

Read | Loved by: 17711
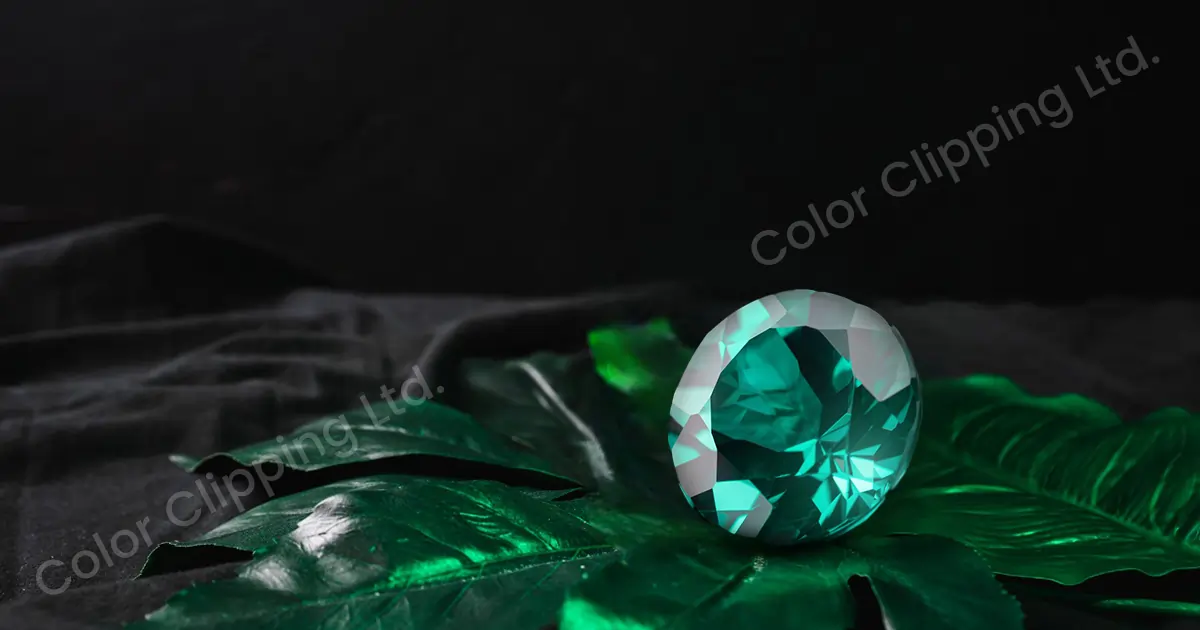
What type of gemstone are you photographing today? Boleite, Beryl, Barite, Augelite, Agate, Apatite, Amber, Amethyst, or something else? Well, for any type of gem pictures you take, I have got you covered. In this article, I will show you a thorough process of gem photography with the equipment you need. Let's Get Going!
What You Need for Gem Photography
Gather the equipment to take flawless jewelry images. Though gemstone photography equipment is a bit costly, it will help you in the long run. You can earn the money back by capturing stunning gem images and impressing your customers.
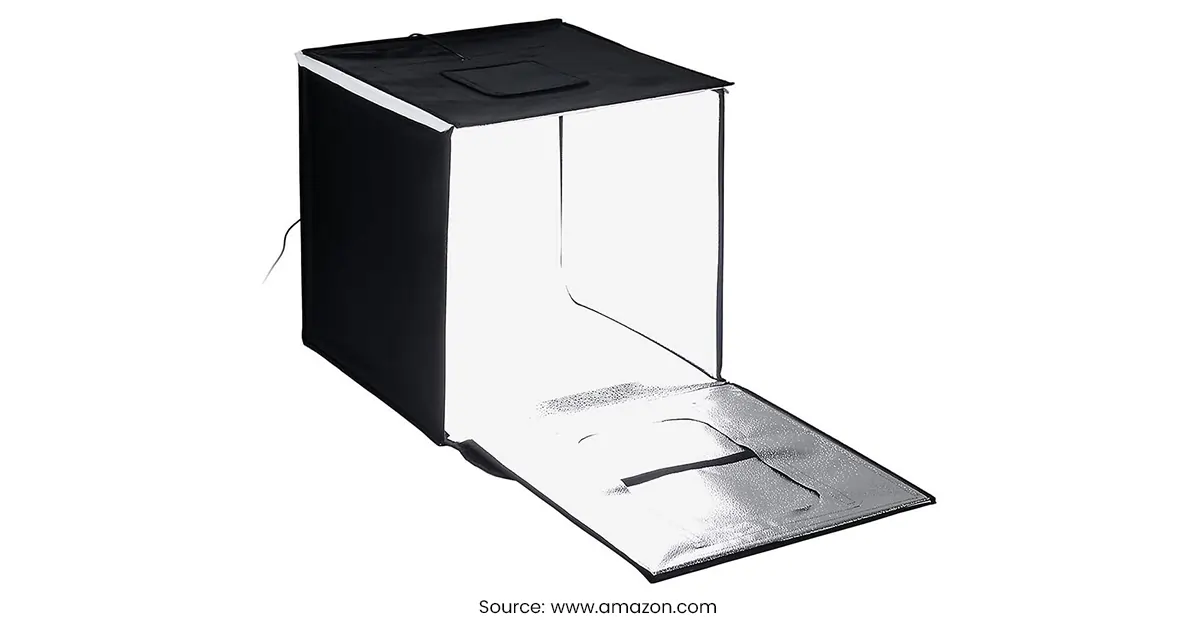
Large Studio Light Box
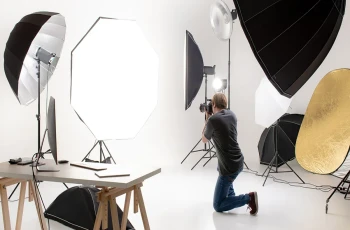
Studio lighting is the best lighting for jewelry photography. Thus, arrange a large lightbox with stripe lights and diffusers for taking pictures of gems. Though gem photography takes small spaces, large photo boxes help you arrange and move equipment easily. You can buy a light box from Amazon or any other online store.
Reflector
You need a reflector to place it behind the display. It will redirect the lights toward the gemstone and lessen the shadows.
Display & background
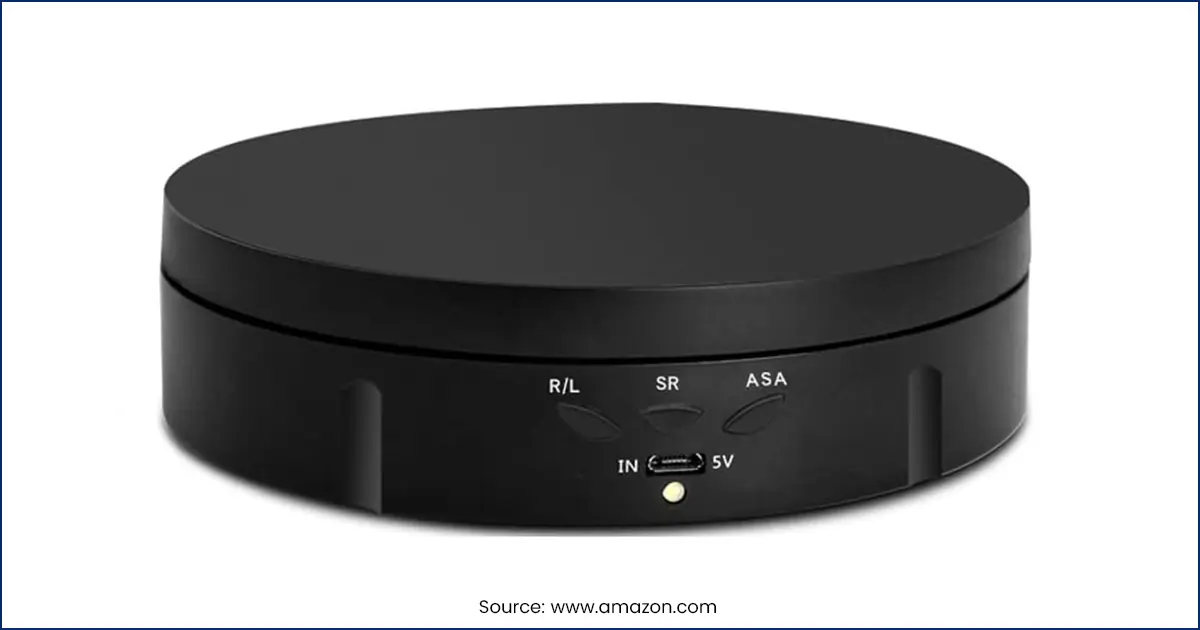
If you want to show your gems from multiple angles, arrange a rotating display stand. With a turntable, you can easily make 360° videos and impress your audience by showcasing the stunning look of your gem from all angles.
According to the display size, buy backgrounds. You can find different types of jewelry backgrounds in the market like gray, matte, matte black, white, black, and so on. Every background highlights gems differently. Thus, collecting them will be a great use for the future. Place the background on the display and take the image.
Small Viltrox Lights
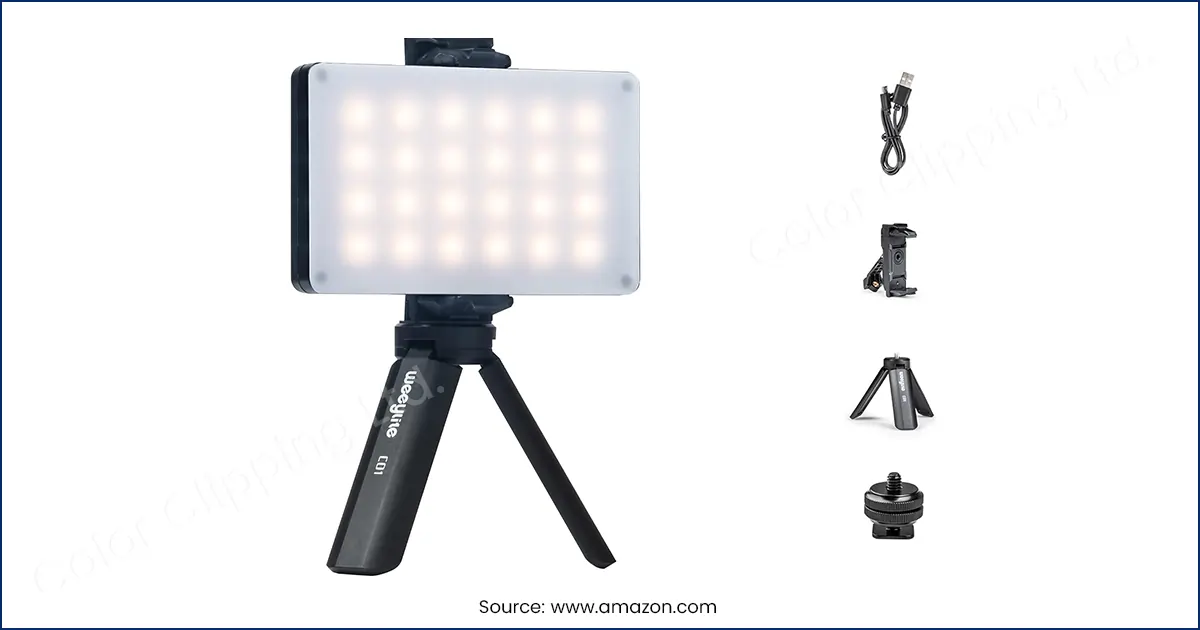
Proper lighting is needed for gemstone photography. While light box lighting is good, extra lighting ensures the images turn excellent. You can control light intensity and change the tones from warm to cool. Having these lights will help you capture the gemstone colors accurately with variation.
Camera
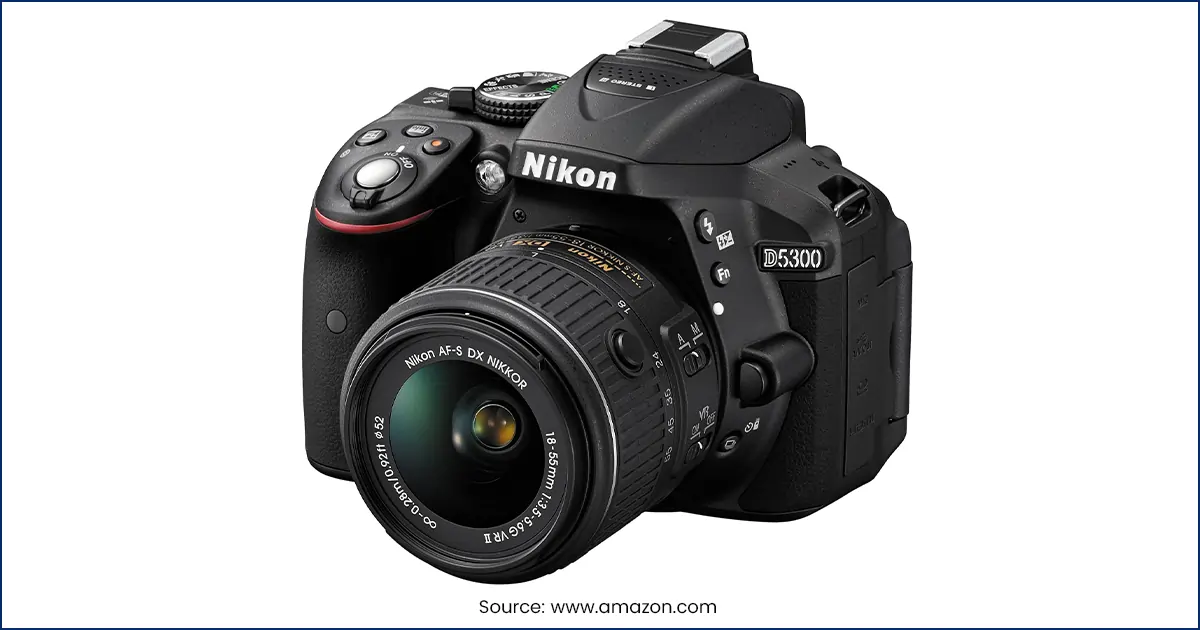
You need the best camera for jewelry photography. There are many options like Nikon D3400, Canon EOS Rebel T5, and Nikon D5300. Whether you are a newbie or an expert, you can easily handle these cameras and capture the best gem pictures.
A Macro Lens
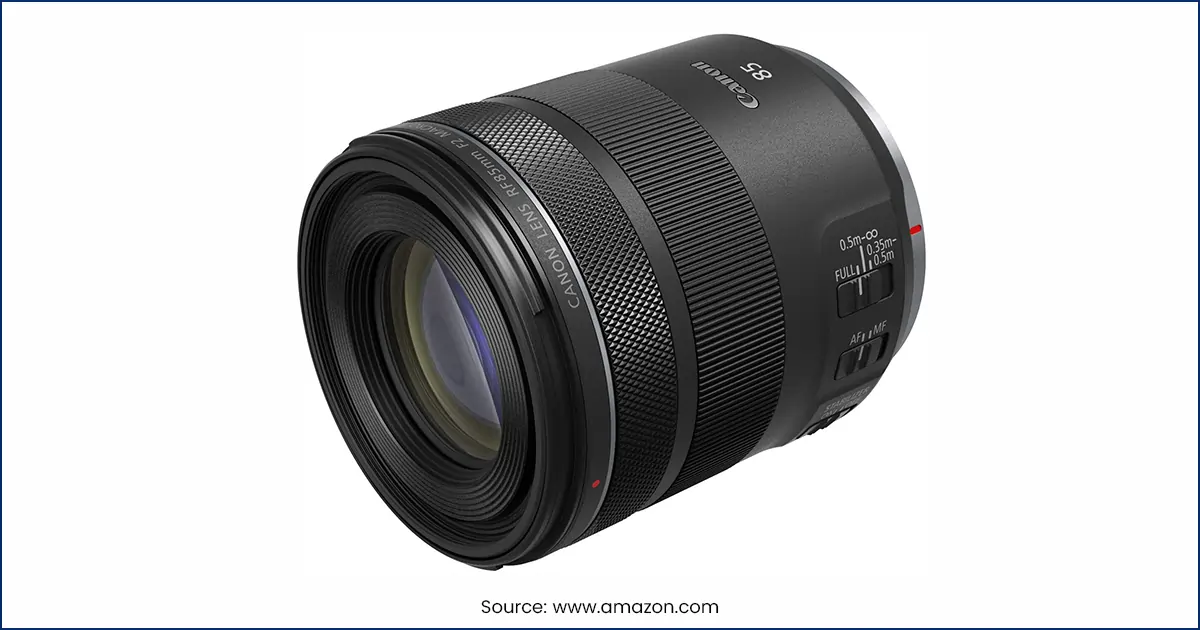
Using a macro lens is a must to capture the delicate details of the gems. You can use an 85mm macro lens or a 60mm macro lens. Both are great options for taking sharp, clear, and distortion-free images.
Tripod & Camera Remote
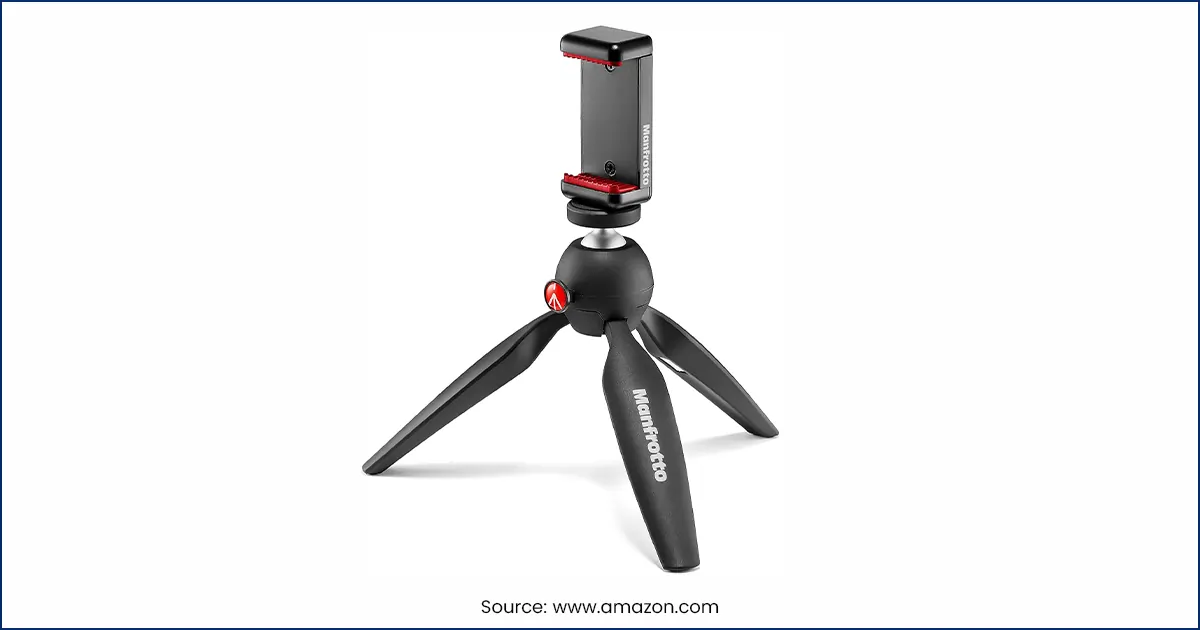
To take stable and sharp gem images, you need to place the camera on a tripod and use a camera remote to click so that the images do not get affected due to camera shake. You can also click the photo with your hand but it may cause a camera shake when the shutter closes.
Gem Photography: Step-by-Step Process
If you have gathered the equipment, let’s see the best way to take pictures of jewelry. I will tell you some gem photography tricks that will help you in the long run. Continue reading!
Organize the Equipment
You need to take gem pictures in studio lighting and the light box is perfect for it. Place the light box on a table and plug it in. The diffusers inside the lightbox will evenly light the area.
Place the jewelry display in the middle and two Viltrox lights surrounding it. And set a reflector behind the display. You can also use one Viltrox light, however, ensure it is properly lighting the gem and set the reflector facing the Viltrox light. This way the reflected light will directly fall on the gem creating a nice effect and reducing the harsh shadow.
Put a suitable background on the display, like black and white, complimenting the gemstone color. You can also use simple jewelry props like fabric, foam, holders, and other things. Lastly, set the tripod in front of the table and place the camera in it.
Clean the Gem
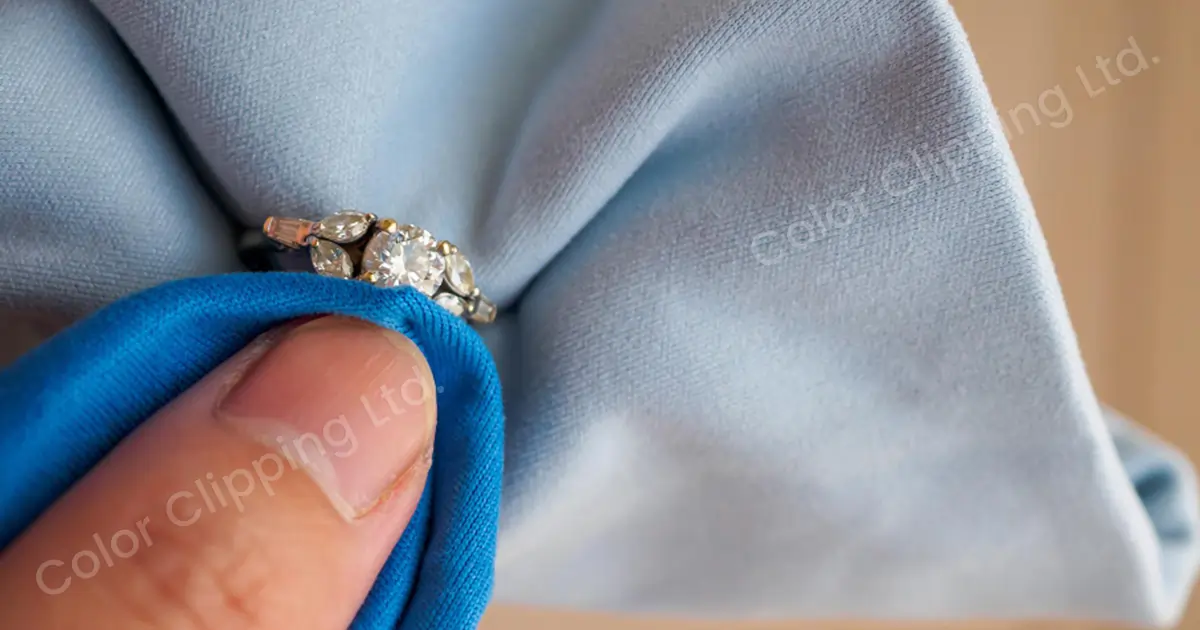
It is time to clean the gemstone. No matter how clean the jewelry looks, you need to reclean it with a microfibre cloth or the macro lens will capture the dirt and dust in the gem images. It will increase your work in e-commerce photo post-production. Thus, clean it thoroughly then place it on the display.
Balance the Exposure Triangle
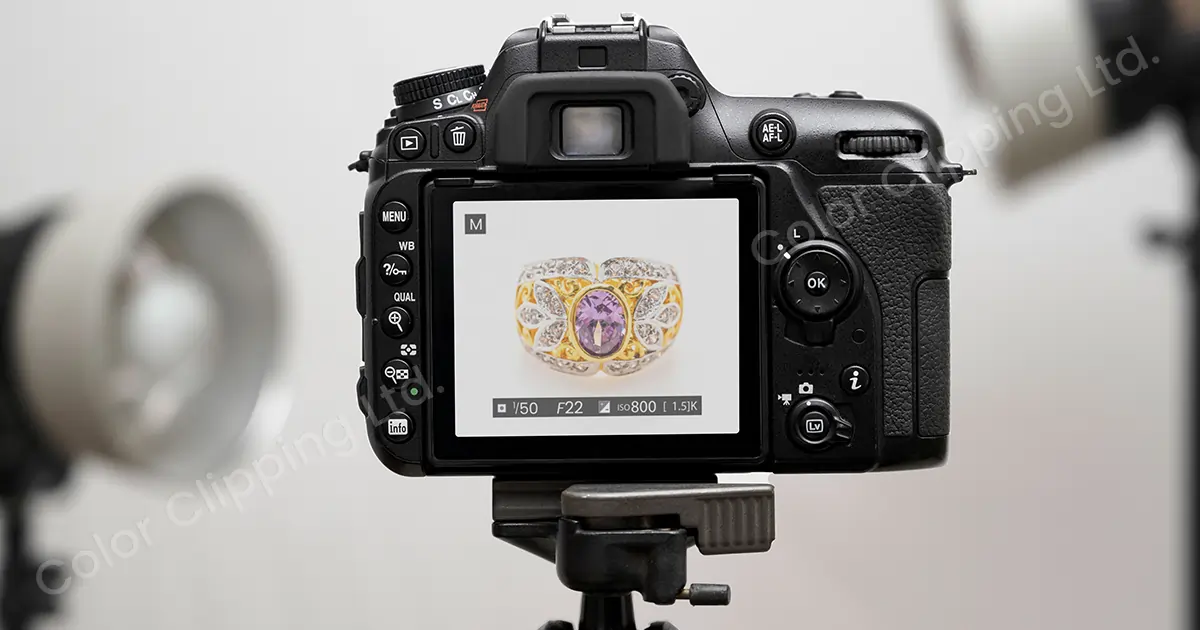
Let’s set the camera settings. First, set the camera and lens to manual mode. It will help you set the setting freely and capture the sharp edges. Also, take raw images to capture every little detail of the image. Now, you need to balance the exposure triangle because it plays a key role in capturing the light and color of the gem.
- ISO: Set the ISO to 700-1000. It is high. Though the gem picture will be noisy, it will have more color and light. If you set it low like 100, 300, or 400, the image will be dark and you will not be able to understand the details.
- Aperture: Keep the aperture to F/20-28. It is not very high or low, it is an ideal aperture to best show gems' sharpness accurately. If you set it too high like 40 or 50, the image will be too dark but capture the sharp edges accurately, and if you set it too low, it will have more light but with blurry and dull edges.
- Shutter Speed: Use a slow shutter speed like 1/50-1/70. At 1/50-70, the shutter speed will open and close at a slower rate observing more light and brightness.
Take the Gem Picture & 360° Video
Gemstones have variations. Some gemstones do not change color and some change color in different temperatures and lighting. I will show you how to photograph gemstones of both types.
Normal gemstone
By normal, I mean the gemstones that remain the same color in different temperatures and lighting. Set the camera settings to ISO 800, Aperture f/24, and Shutter Speed to 1/50.
For variation and highlighting the color of the gem, you can use simple props like muslin, silk, canvas fabrics, or ribbons. Take some sample photos with the props. If you think the props are not looking good with the gems, remove them and take simple gem pictures.
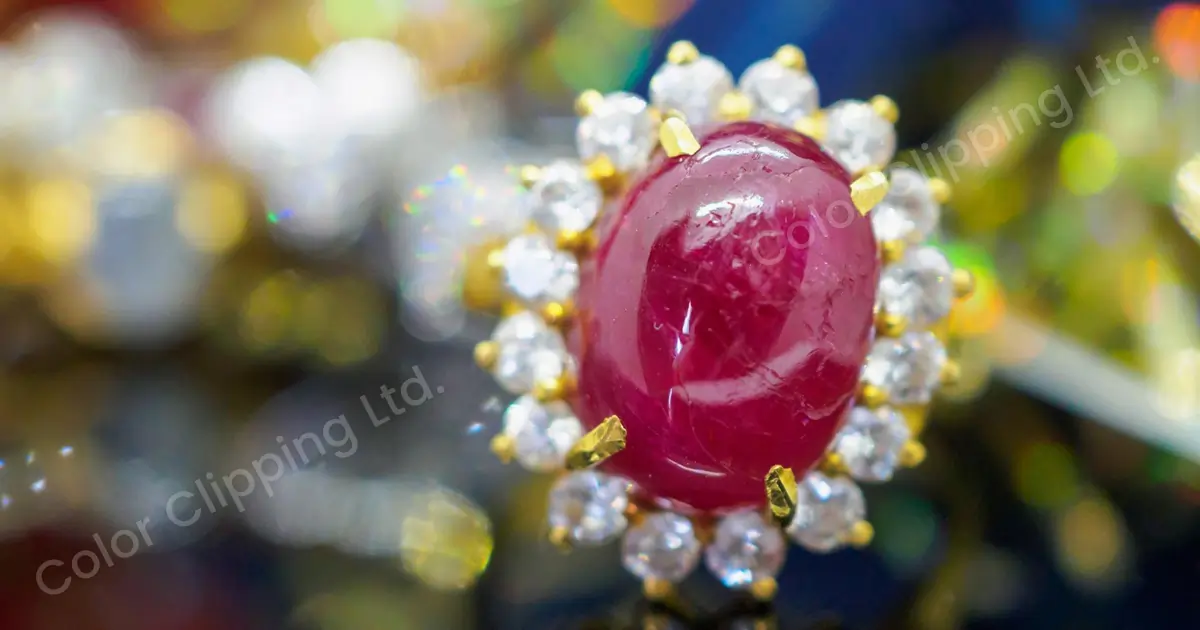
Color Changing Gemstone
Unlike normal gemstones, color-changing gemstone photography is different. According to different temperatures and lighting gems sparkle and color changes. For example, Alexandrite gemstones change their color from emerald green to red at night and sapphire changes its color from blue to violet in artificial lighting.
Thus, while photographing gemstones, you must capture all these color changes to impress your audience and market your jewelry brilliantly. How to photograph gemstones? The equipment will remain the same. Place the gemstone in the display.
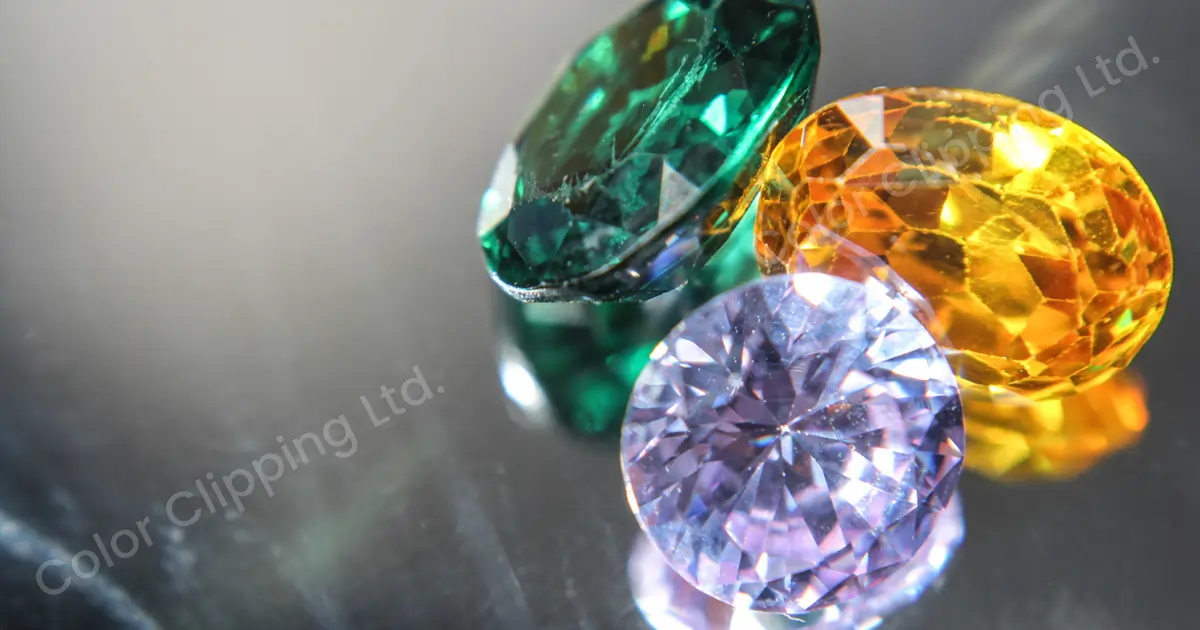
If your lightbox lighting can be changed to a cool and warm temperature, change it to warm yellow lighting. Also, change the Viltrox lighting to warm lighting. Take the image and see the changes. The picture will look more shiny, and sparkly, and change in color. Depending on the gemstone, the color will vary thus, take gem images in both warm and cool temperature lighting to see the results.
360° Video
Audiences love details and what is a better way to show gem details than 360° Video? It is not mandatory to take a video but it is a great way to capture the audience's attention and make them stop. The equipment and camera settings will be the same. Set the camera to video mode. Place the gem in the rotating display and start it. Take the video, review it, and if it looks good, you are good to go.
Remove Every Flaw
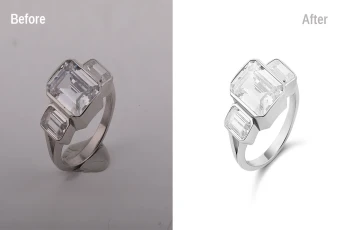
Even after taking gemstone photos with all the preparation and perfect camera settings, you need to do jewelry photo retouching thoroughly. Here are the things you need to focus on in post-production.
Lighting Correction: If the lighting looks too bright, dark, or dull, you need to correct it and edit till it looks natural. Often, the gem picture looks yellowish due to an incorrect white balance. You need to fix it in Photoshop and make it look natural.
Adjust Color Balance: If any part of the gem color looks uneven or different, you need to provide its natural color. After correcting the color, your gem picture quality will be enhanced and look aesthetically pleasing.
Retouch Dust, Dirt, and Scratches: If the picture catches any dust, dirt, or scratches, you need to retouch it. However, if the scratch is on the gemstone beforehand, do not completely remove it, just polish it. Ensure the image looks as realistic as possible.
Naturalize the Shadows: If the shadows look dark, you need to soften them. You can also provide reflection shadows for gems. It looks beautiful and eye-pleasing when the same reflection appears beneath the gem.
Remove Distractions: If any props or objects may distract the audience from the gem or reduce the image quality, remove them. You can also place it on a completely white background.
Crop the Image: Website or social media, every platform has its image size guidelines. Depending on the platform you are uploading your gem images, you must resize them. Check the image sizes in Google and crop it accordingly on Photoshop.
Add Watermark: Add your watermark on the gem pictures so that when people share your images, others can find you with the watermark. It is a great promoting method. However, keep the watermark opacity low so that it does not look distracting.
Final Check: After you are done editing, zoom out and see the outlook. If the gem image looks flawless and represents the gem realistically, you are good to post it online. When the gem and picture look the same, your customer will trust your brand and buy more jewelry.
Wrapping Up
Gem photography is complex but I feel the most satisfaction when the picture comes out perfect. So, I recommend you to maintain patience. Experiment with different backgrounds, props, and camera settings, and you will become a pro gem photographer within no time.
However, if you do not have time to photograph gems and want to hire a professional jewelry photographer, check out this article on how much they cost: How much do jewelry photographers charge?
FAQ

Anika Wahab
Hello, it's Anika, Content Executive from Color Clipping Ltd with a devotion to contributing my skills and knowledge more simply. Keep learning and growing with us.
