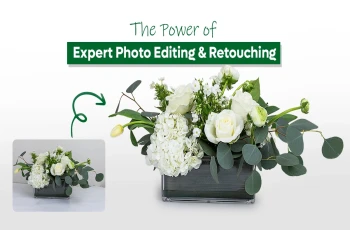
How to Create a Natural Shadow in Photoshop

Read | Loved by: 28446
If you are willing to edit an image with Photoshop and willing to keep it as realistic as possible then the first thing that you should check is the shadows. If the objects of your images don't have shadows, then it's not an object, it's a 'Jin'. Kidding... In today's blog learn how to create natural shadows in Photoshop to make an image look more realistic and less demonic.
Digital media has a huge place to grow and learn. If you are a person with technology would to know the names of popular software in this field like Photoshop, Lightroom, illustrator, and many more. This is the most popular software in modern times. You can create almost everything that you want. Starting with creating a new object to a whole new world with the help of Photoshop. Just keep it as real as possible.
How Does Shadows Work?
When you are running a business, there are plenty of things that you have to maintain. But the hardest and most important thing to build is reputation and brand value. Brand value has the power to gain customer’s trust.
Imagine yourself as a customer. Where would you like to spend your money? At first, you will compare various brands to understand the quality of a brand and will be attracted by the premium quality visuals that a brand showcases. But you won’t buy the product if the images they put are not realistic enough. You would not buy the product if you thought that the images were realistic. In short, we are attracted to beauty but we only trust reality.
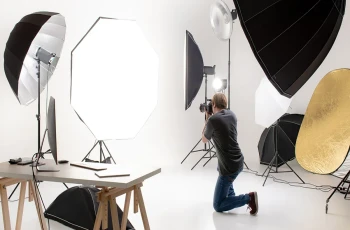
When you do professional product photography, you need a whole setup. From lighting to camera settings, everything needs to be in place. Most of the time what happens in product photography is, that we need professional lighting and a white background. Too much light can eliminate the shadow of the product and make it seem like the product is floating in the air.
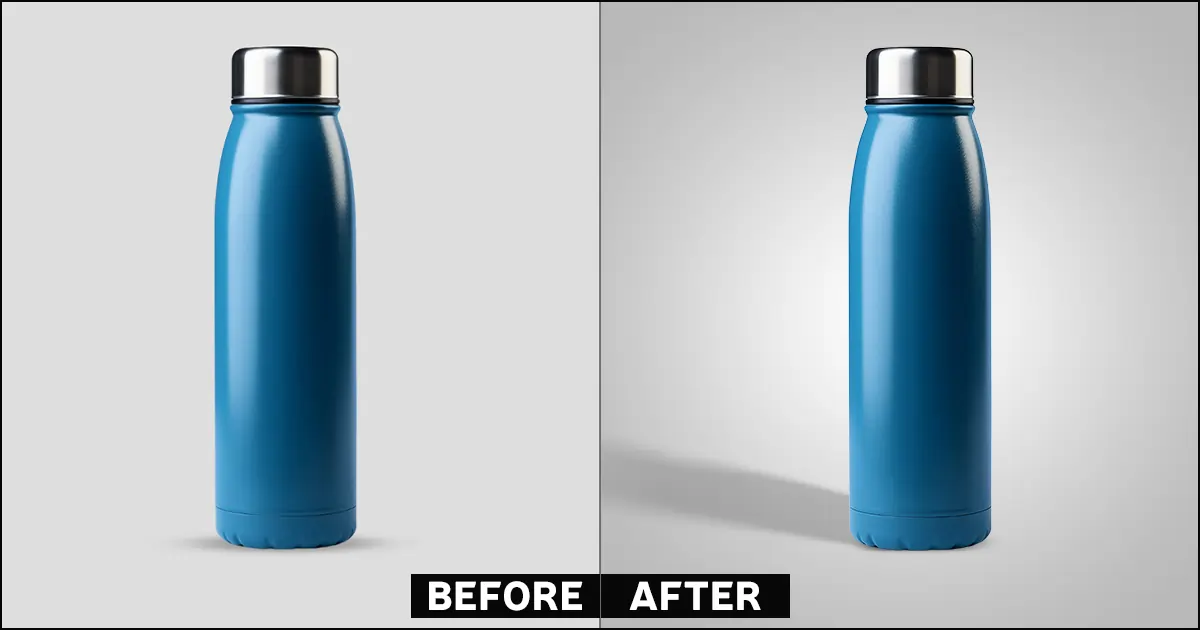
To make your product less spooky and have a natural look, you will need to add some shadows to the product. For any kind of photo manipulation, we have Adobe Photoshop. Now, let’s learn how to create a natural shadow in Photoshop!
Types of Shadows
Creating natural shadows also depends on the object, the position of that object, and the way the light hits the object. To understand the shadow concept a little more clearly, let’s divide the shadow types into 3 concepts or patterns.
1. Drop shadow
Drop shadows are the shadows that hit the floor. If the lights are at the top of the object, then the shadows will be in the opposite direction, which is the bottom or the floor. It is similar to the 12p.m sun. when the sun is at the top above your head, your shadow will be a drop shadow.
2. Natural Shadow/Side Drop Shadow
Natural shadow is the shadow that is seen most of the time. If the light hits an object from a particular angle, then the shadow will fall on the exact opposite side of the shadow. This is the most common shadow that photo editors so in their image editing.
3. Reflective Shadow
When an object’s shadow reflects on its own body then it creates a reflective shadow. You might wonder how that even works. Take a mug and put the light on the mug’s handle side. You will see the light will create a shadow on the opposite side, as a result, the handle’s shadow will fall on the mug’s body.
How to Create a Natural Shadow in Photoshop?
No matter if your images are taken with an average camera or taken with a professional camera, DSLR, iPhone, or whatever. You will need a photo post-processing job to make the image look perfect. Even professional cameras are not able to click a perfect picture. Professional cameras can capture small details, including flaws, spots, and mistakes. That is why Photoshop is necessary. Let’s learn how it works…
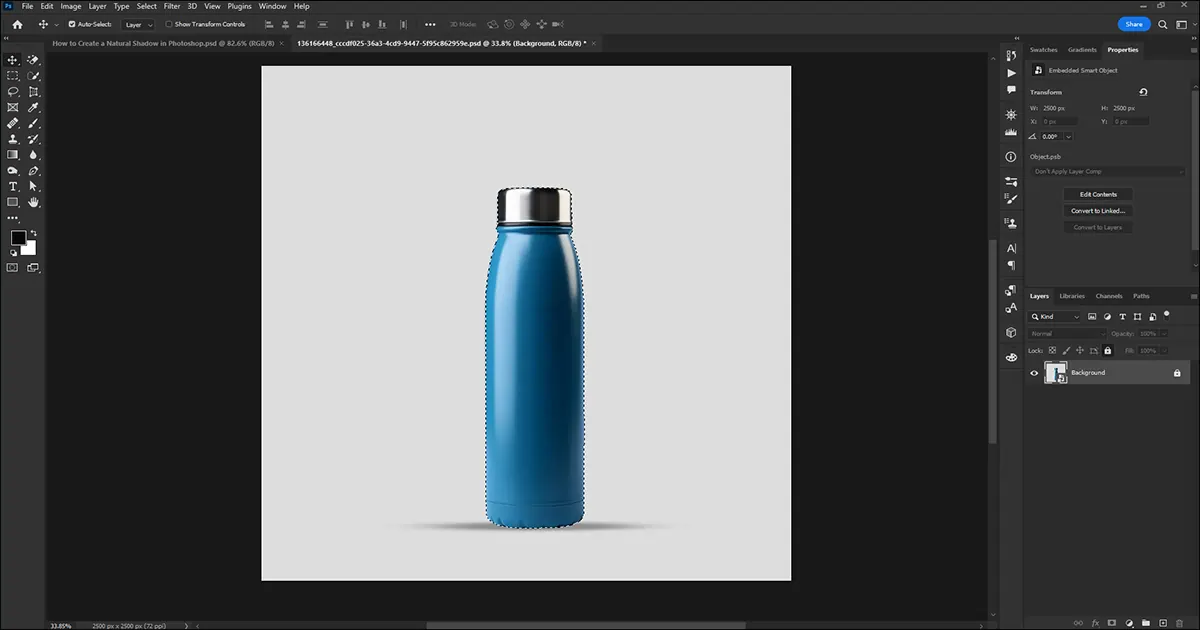
Step 1 – Open the image on Adobe Photoshop and take another new page
Step 2 - Trace out the object of which you want to create a shadow. Here you can use a pen tool. The pen tool is the best when it comes to perfectly tracing an image. But I'm using a quick selection tool to make the process a little faster. So, for precision take a pen tool and for precision take a quick solution tool.
Step 3 - Select the Move tool from the left toolbar top and move the traced image to another document page.
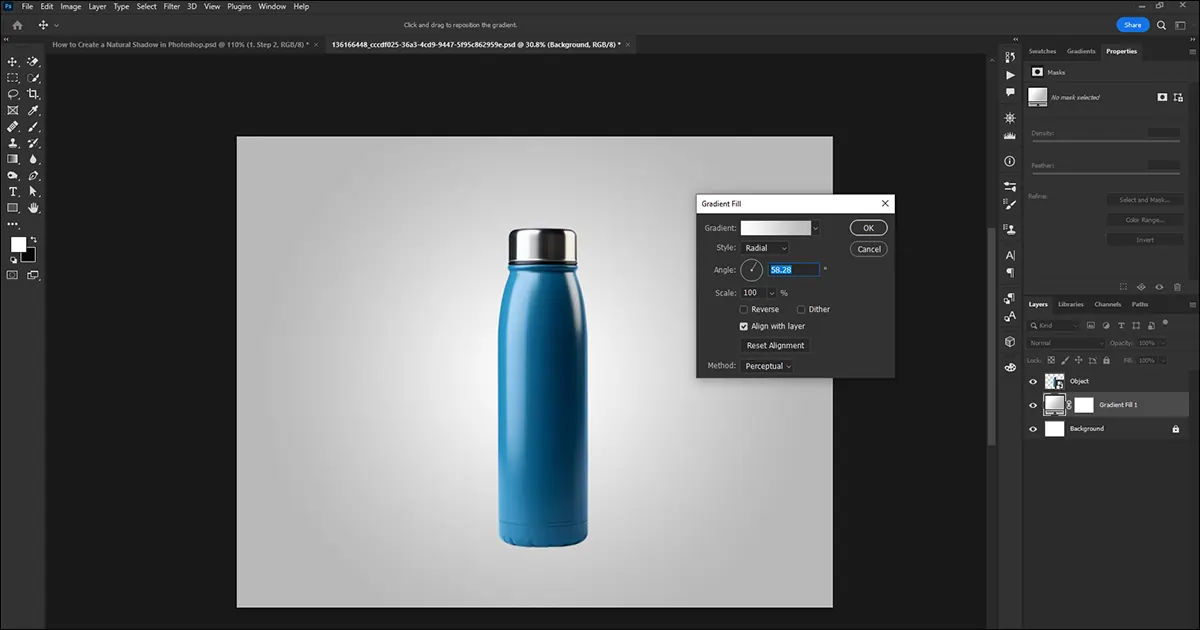
Step 4 - Press Ctrl + T and resize. Now select Gradient fill from the circle icon you can see at the bottom of the layer panel. After clicking on that icon select Gradient Tool.
Step 5 - Now adjust the Gradient Fill background style, Radiat, Adjust Scale, and check the reverse. click on the box Reverse and then click on OK.
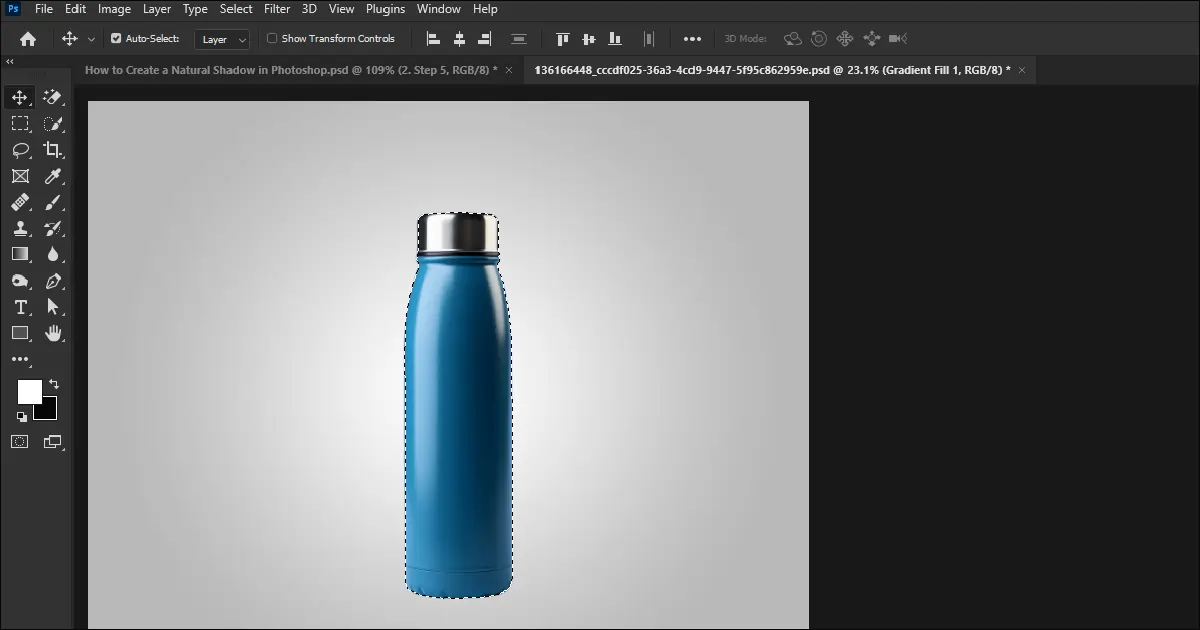
Step 6 - Next select your image and press Ctrl + J to copy layers. Also, rename it as Shadow.
Step 7 - Hold Ctrl and click on the shadow layer. Select your background color as black and press Ctrl + Backspace to apply the black color to fill up the object's out trace.
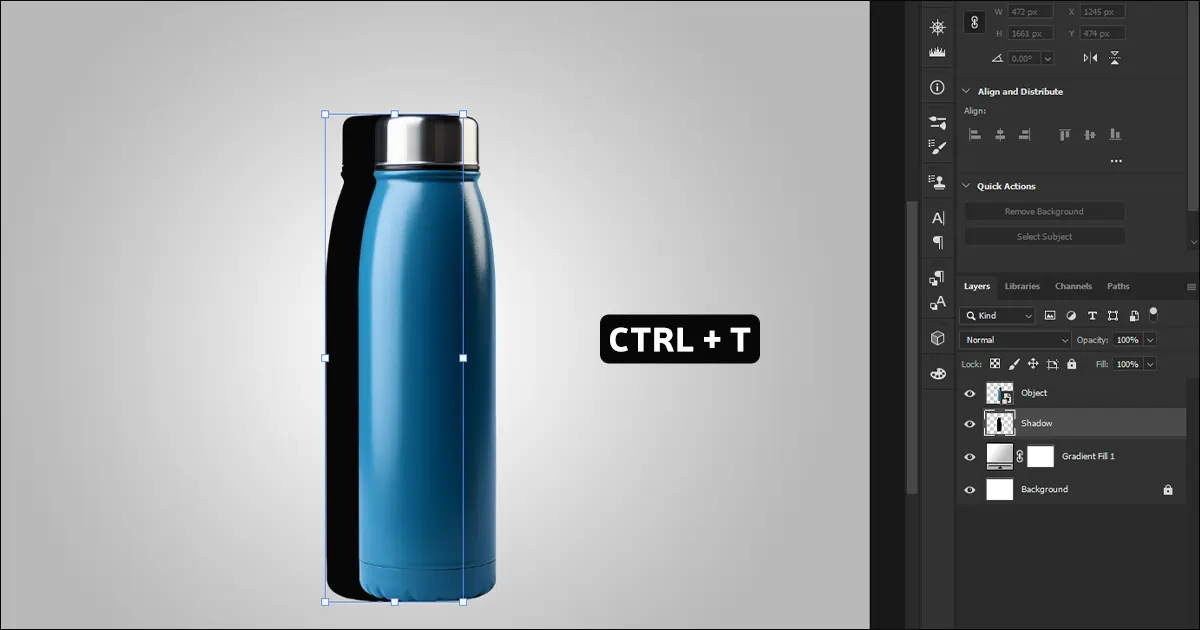
Step 8 - From the Layer Panel, Drag your Shadow layer under your image layer.
Step 9 - Press Ctrl + T and you can see you can drag the shadow from behind. It will also give you a shadow but that will not look realistic at all. But here our goal is to create a realistic shadow to make an object's image appear even more natural. So, press Alt + Ctrl and transform your shadow. When it comes to the white arrow then transform. It will eventually create a shadow-like figure.
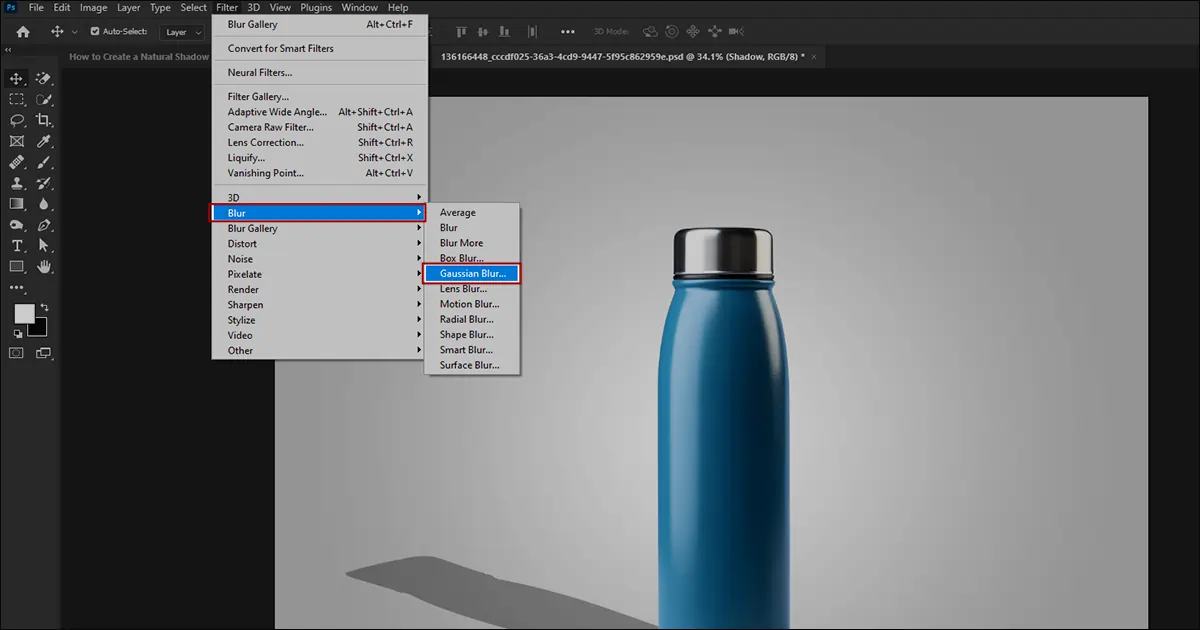
Step 10 - Go to the Filter option from the very top toolbar and select Blur. From the drop-down menu of Blur, select Gaussian blur. Now adjust the Radius of the shadow to make it look smooth and natural. Once you are satisfied with your shadow. Click on the OK. also don't forget to decrease the Opacity from the layer panel from the right bottom section.
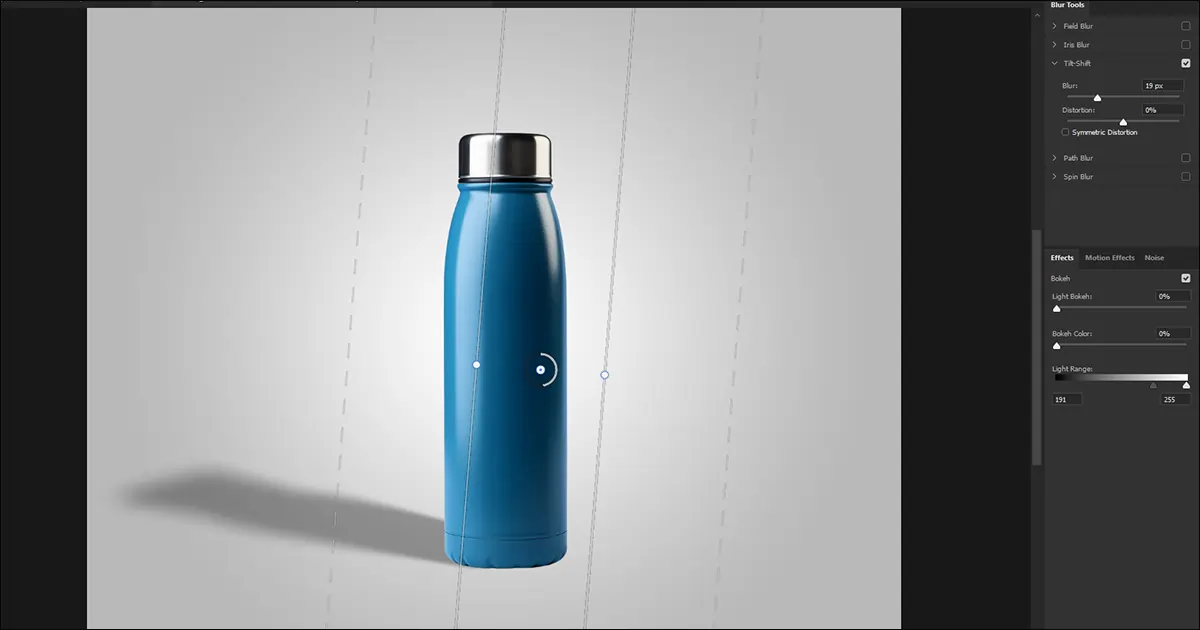
Step 11 - This step is optional. But to get that professional touch, go to the Filter option again and select Blur Gallery. From the drop-down menu select Tilt-Shift. You will get straight lines that indicate blur-out effects. If the shadow is laying vertically then rotate the line horizontally. And in the shadows are in a horizontal pattern then rotate the line in vertical lines. Basically, do the opposite. Your lines have to sit almost at a 90-degree angle on the shadows. Keep the straight line attached to the object and the dotted lines towards the shadow. Now adjust the blur scale to the point you feel right. and you're done.
The editing is done here but still, if you want you can retouch the top part of the shadow (the part having the most distance from the object) by trimming down the darkness or if the background is white then blending a little white to make the shadow look a little bit faded away. You can use a Brush tool for this step.
And there you have it. Your professionally done natural shadow in Photoshop.
Create Realistic Shadows with Color Clipping
If you are a business owner and have a bulk number of images then it might not be very convenient for you to provide picture-perfect images every time. So, if you are having any issues regarding photo retouching Whether it is because of the bulk number or the complexity of the image, you can always count on Color Clipping.
Color Clipping is always there to help you and make your images look picture-perfect every time. Try us to save the time that you have been giving to photo editing. Give your time to the business that you are working to make it successful and leave the editing on us.
Conclusion
Adding natural shadows is important when your target is to make your product look as naturally attractive as possible. It’s also important to make natural shadows to ensure upgrowing sales. However, it needs practice indeed. You won’t get the perfection on the first attempt. It will take a few days to master. You can also create a team of your own to meet the demands of having the perfect image in a bulk number.
So, go ahead and start indulging yourself in the photo post-processing world. Explore the opportunities and learn more about the marketplace that will help you to upgrade your business.
FAQ

Anika Wahab
Hello, it's Anika, Content Executive from Color Clipping Ltd with a devotion to contributing my skills and knowledge more simply. Keep learning and growing with us.